French seams are my favourite way to enclose seams on lightweight woven fabrics. It only takes a few extra steps and the finish on the seams is well worth the effort.
I’ve created a video demonstrating French Seams and I’ve also written it out into four easy steps just beneath the video if you prefer. Apologies it is in portrait mode, I originally created it for demonstrating on Instagram but thought it could also be of use here! The pattern mentioned in the video is the Evelyn Blouse.
Four easy steps to get French Seams
1. Place the layers wrong side together.
The first seam you make will be visible on the outside of the garment, but don’t worry, the final steps hide this away.
2. Sew a 1/4″ seam.
3. Press & turn.
Open up the piece and press the seam to one side. It doesn’t matter which side at this point. Then turn the piece RS together and press, making sure the seam is right on the edge of the fabric.
4. Sew a 3/8″ seam.
Now the seam will only be visible from the wrong side of the fabric. Press the finished french seam to the back.
Note: You can end up with a slightly smaller finished French seam by sewing a 3/8″ seam during step 2, trimming this to 1/4″ and then sewing a 1/4″ seam for step 4. I don’t do it this way around because I find sewing the second seam at 1/4″ often means stray threads from the fraying fabric edge are more likely to peek through to the right side of the fabric.
Pattern: Ultimate Pencil Skirt by Sew Over It Fabric: Grey Melange Suiting Fabric (Polyester / Viscose) from Guthrie & Ghani Little Bits: 100m Gutermann sew all thread
Size: 10 Version: N/A Mods: Apart from shortening them hem (4 inches), absolutely nothing!
Lots of other people had made this and I’d loved their makes but still thought it wouldn’t suit me. Eventually, I convinced myself to take a leap and bought the paper version (which comes in a sweet little booklet/envelope style wrapper). It’s a very well written pattern and was very easy to follow.
The fabric
I picked this fabric up when I was lucky enough to visit the Guthrie & Ghani shop in person. I had been to a wedding the day before and that had halved the distance I am normally from the shop. They have lovely pictures on their website which do an excellent job of accurately representing the fabrics but no matter what it is always nicer to see and feel them in person.
The result
A perfectly fitting, incredibly flattering skirt. I would love to make another but in a nice deep navy blue. And maybe a mustard one.
Pattern: Ginger Jeans by Closet Case Fabric: Classic Blue 11oz Stretch Denim Fabric (1.8m) from Guthrie & Ghani Little Bits: 200m Gutermann sew all thread (#309 Dark Denim), 200m Topstitching thread (Gold), Jeans Zip – Blue – 7″, Jeans Buttons Antique Copper Non-Sew Pack of 8 – 17mm, Jeans Rivets (Non-Sew) Copper 9mm: Pack of 24 – 9mm
Size: 8 Version: View A Mods: None!
The Pattern
The pattern was pretty much perfect. I mean, I ended up with an extremely well-fitting pair of jeans. That in itself is impressive considering I had never made a pair of trousers before. I didn’t (gasp) even make a muslin first. Nope, jumped right in with my actual denim.
I did get a bit confused at the pockets section. I had to re-read the instructions several times. Then proceeded to rip out my stitches twice before I got it ‘good enough’. The final issue was that one of the pockets has the RS fabric facing into the pocket instead of facing out, however, it is on the jeans facing side and you can’t even see it when you are putting them on. I decided it was a mistake worth leaving 🙂
Use the sew-along posts
They do have a sew along feature on their website and that was a huge help in understanding some of the steps. You can only fit so much content into a printed pattern before it becomes overwhelming anyways so it was really helpful to have the sew-along posts available in addition to the pattern notes.
Every single step was exciting. It was all new to me and each bit of making jeans is so different from sewing a top or a dress. I got excited when I sewed the crotch area together and they looked more like trousers. I got excited when I attached the fly front and zipper. The topstitching was a bit nerve-wracking as it was going to be so standout-ish on the jeans but even that was enjoyable.
One of the most rewarding bits, even after all of that, was putting in the rivets and jeans button. Seriously, make a whole pair of jeans and then intentionally stick holes in them. That felt insane. I was certain at some point my bunched up denim in my punchers was going to put a hole in more than the intended area but all went surprisingly fine. I did use an old pair of punchers that were originally my husband’s grandmothers. While they worked ok I definitely have to buy some new ones. They were so old the rubber around the pincher bits was hardened and deteriorating. They also left little indentations in the rivets. I didn’t mind the indentations this time, they actually make them look like they have sweet little moons embossed into them, but I don’t want to have all my future rivets like that.
All in all, I would definitely make another of these.
The Fabric
This denim was perfect for my first pair of jeans. It handled very well and they are comfortable to wear. The only thing I’d say is I’d like if they became a bit softer after some wear/few washings as they are a tad on the stiff side. There is plenty of stretch in them, and I would consider buying the same fabric in a different colour, I think they might just be a bit thicker than the skinny jeans I’m used to wearing. It does feel like good quality denim though, I’m not concerned with it sagging over time. Which is nice after all the time invested in making them!
Pattern: Penny Dress by Sew Over It Fabric: Viscose from C&H (on sale for £8/m!) Little Bits: 100m Gutermann sew all thread
Size: 8 Version: NA Mods: No buttons. Chose to sew the button band shut instead. Hand stitched down each row of existing button band stitching to attach the 2 bands together.
The pattern
I chose to purchase the PDF pattern for this one. I hadn’t done that before and I was intrigued to see what that process was like. I’m not sure how it is elsewhere but buying PDF patterns from Sew Over It was very easy. Plus the download link in the orders section never expires. That’s a massive plus so I don’t have to worry about not being able to get it again should I lose my file.
My original intention was to print it myself and then piece it together but then I realised it was 40-some pages. While some people find this stage to be therapeutic, I’m a bit impatient and if I have time to sew I want to spend it sewing. Decision made, I ordered my printed version from NetPrinter (https://netprinter.co.uk). It was reasonably priced and the patterns came quickly, printed on lovely thick paper.
The pattern itself is very easy to understand although I did struggle with a few bits. I don’t want to blame the pattern because maybe it was me but I had a few fights with the collar section. It just seemed a bit too short and didn’t want to fit along the neckline edge nicely. I finally settled on a few little tucks being sewn into the seam as the collar was going to be hiding it anyway.
The fabric
I’m sorry to say I don’t have much information about this fabric. It was in a C&H shop, and when I felt how drapey it was I snapped it up for my Penny. At the time I did check the fabric to make sure it was a suitable material, I just can’t remember now. If I had to guess I think it is a viscose because it feels very similar to my Pirate Kalle material. I can remember that it was on sale for £8/metre which made my 3.2m purchase a very reasonable expense! It washed well and after drying can see it doesn’t really crease which is brilliant. For the dress style I want it for anyways!
It was a bit tricky to cut out. As is any slippery fabric. I finally got it into place to cut the large skirt piece and it far overlapped my cutting mat. I didn’t want to move it about, even if I pinned it, so I used my scissors to cut around the skirt portion that wasn’t over the cutting mat. Then I finished the rest with my rotary cutter.
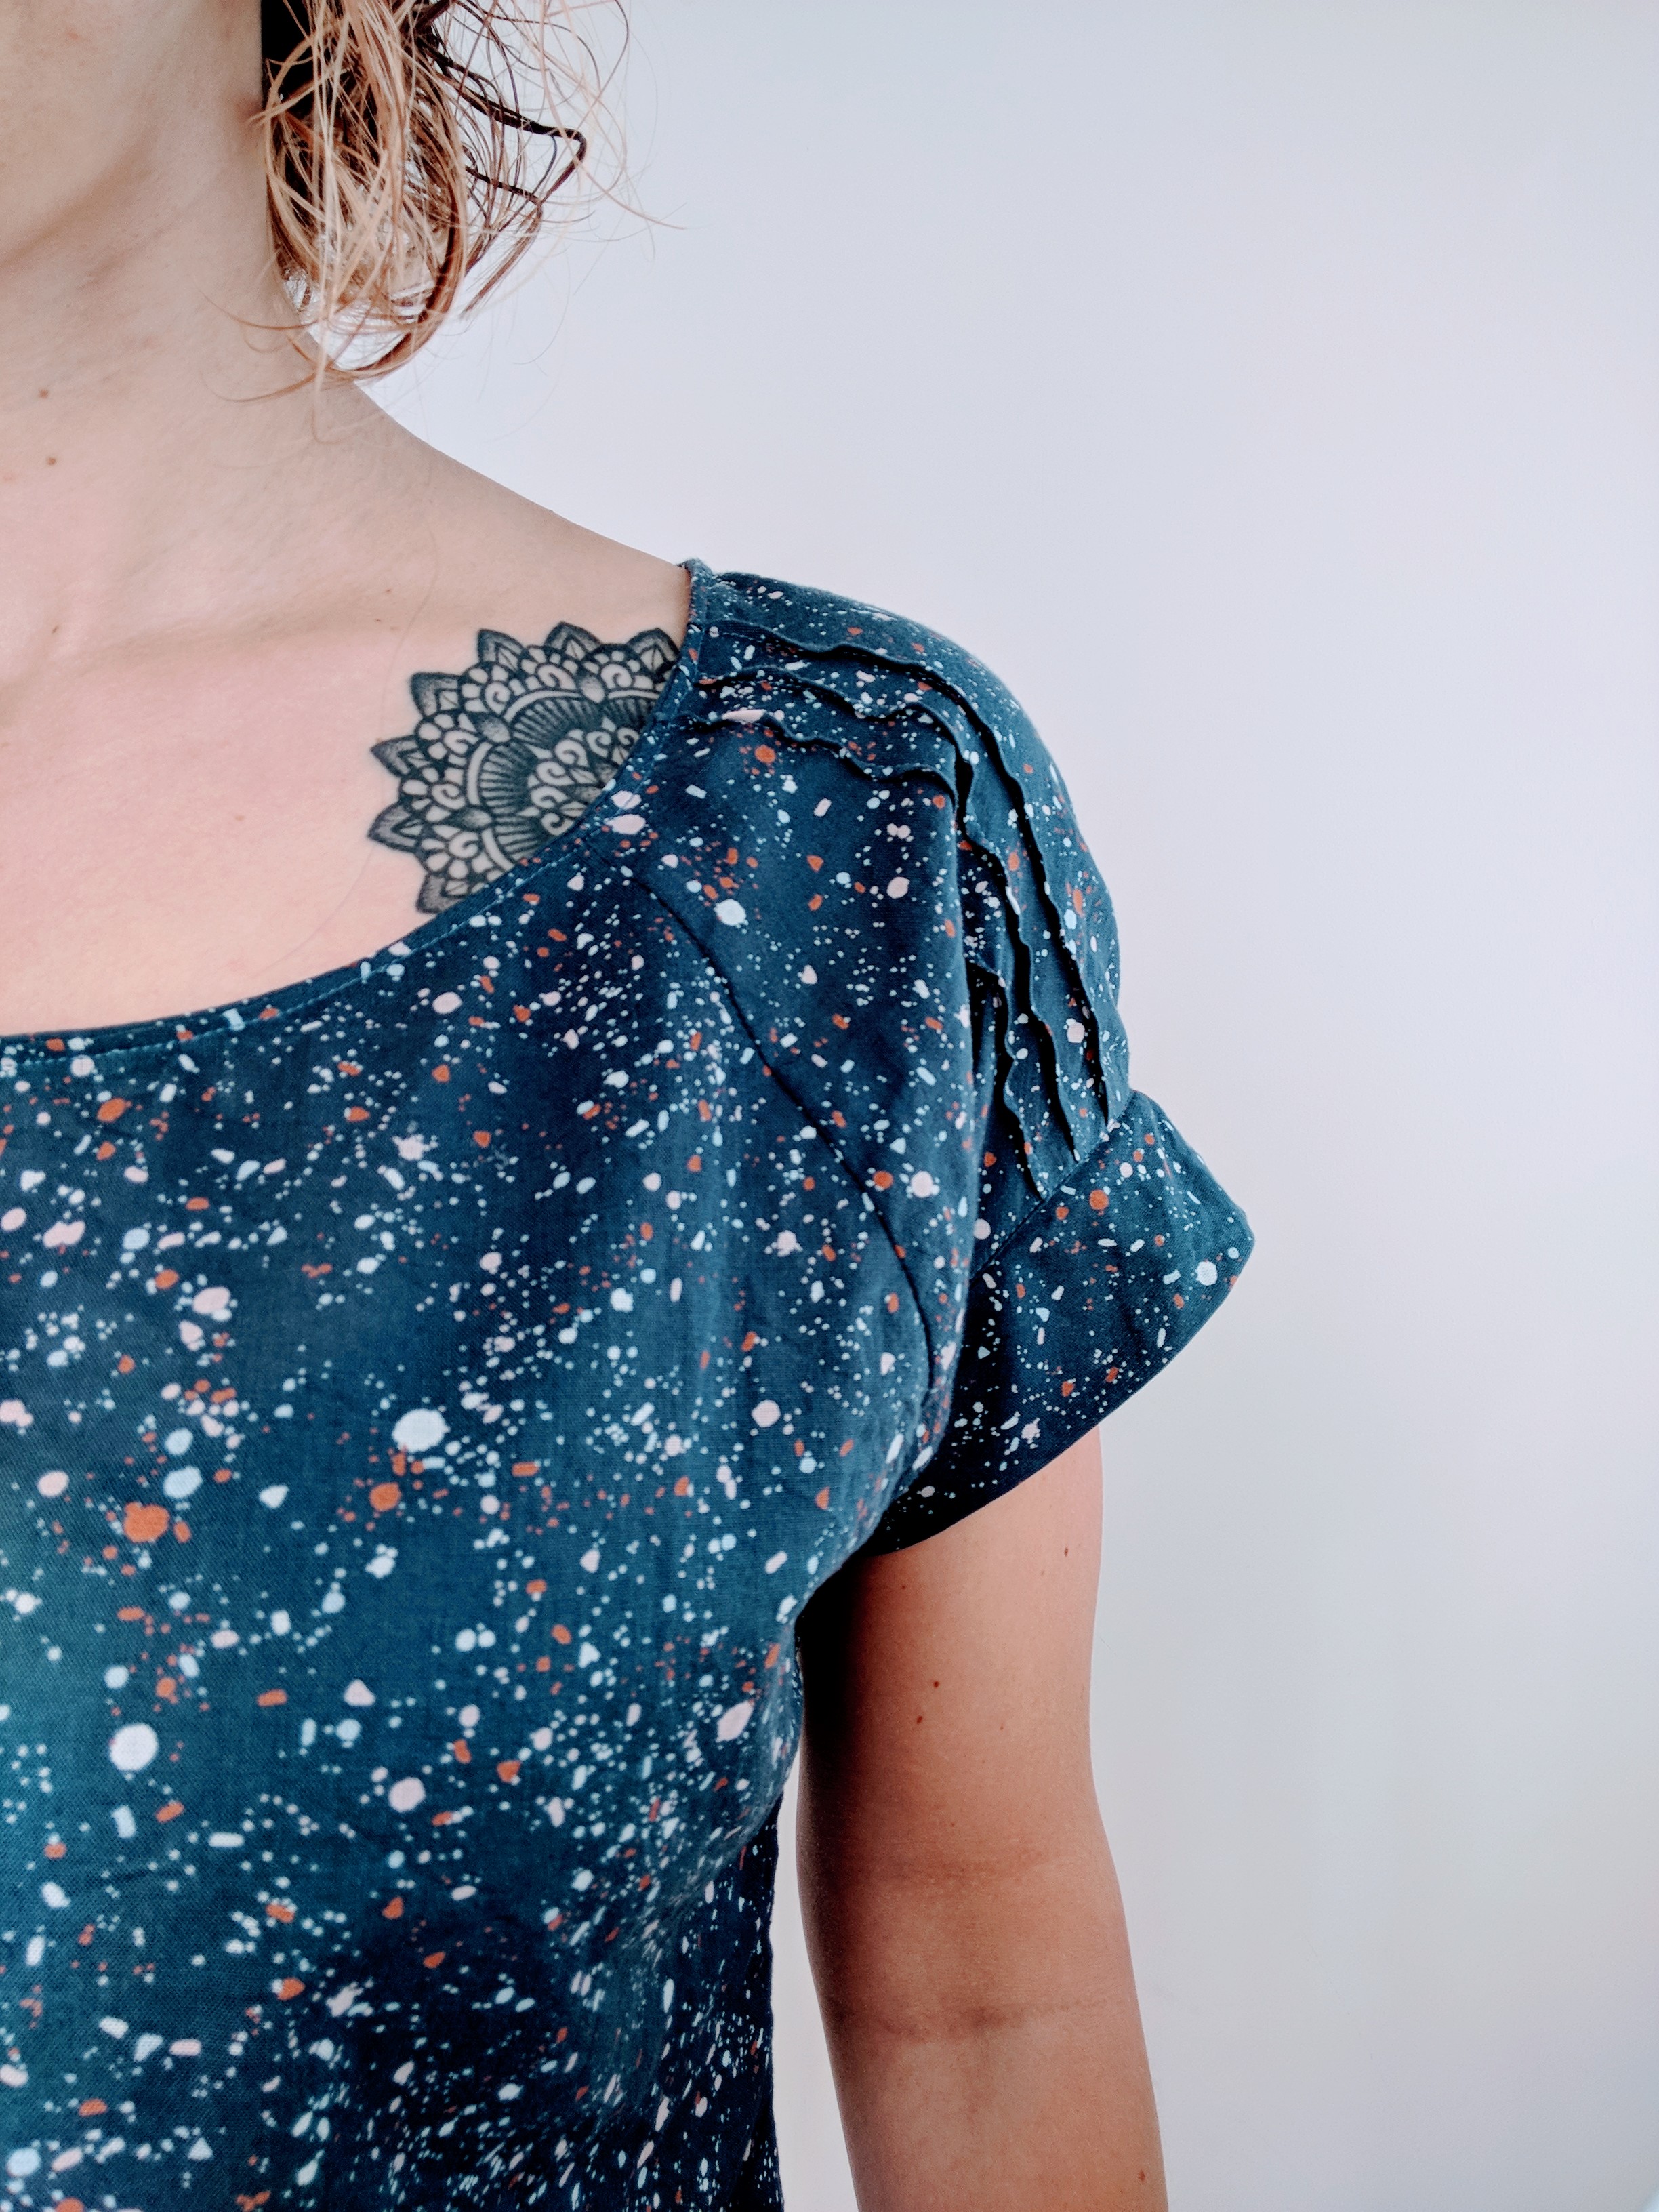
Pattern: Belcarra by Sewaholic Fabric: Cotton Gauze “Terrazzo Night by Atelier Brunette” from Guthrie & Ghani Little Bits: 100m Gutermann sew all thread
Size: 8/8/2 (Graded from size 8 down to 2 between waist and hips) Version: View B Mods: None!
The Pattern
It’s a light and airy easy to wear top. The length of the top is spot on however the neckline is a bit wide for me. I prefer a neckline slightly more scooped downwards rather than wide across the shoulder. I think I would make a variation of this top again, however, I would make that alteration to the neckline. Just bringing the neckline in a tad.
The Fabric
This was lovely fabric to work with. Not slippery at all, or thick, just a nice light but still stable material to work with. I would definitely like to use cotton gauze again. I am also interested to see how another cotton gauze compares to this one. It wasn’t a cheap fabric and while I love the print on the shirt I think the fabric was deserving of a more intricate or beautiful pattern rather than the more basic tee-shirt shape I chose to make.